|
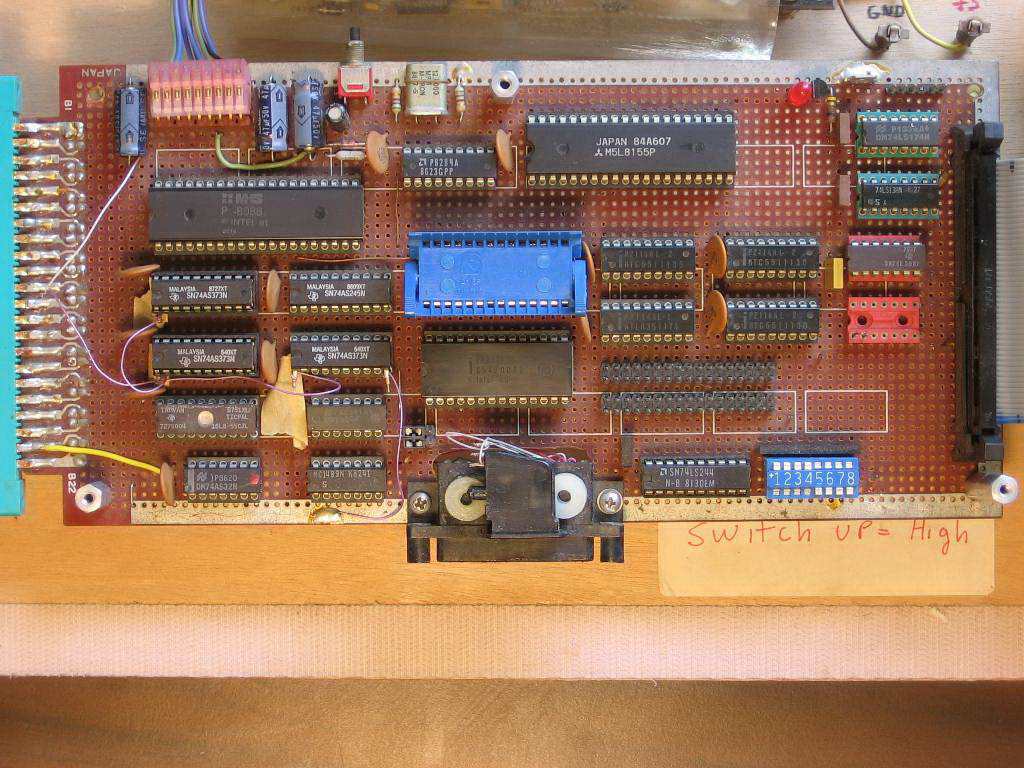
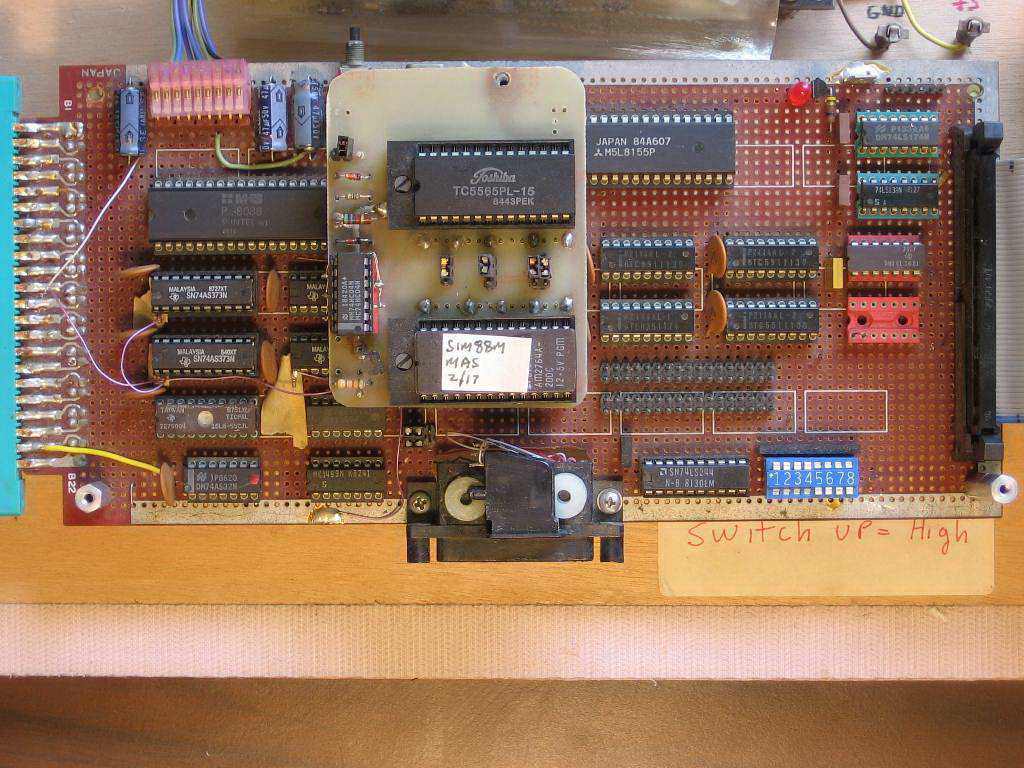
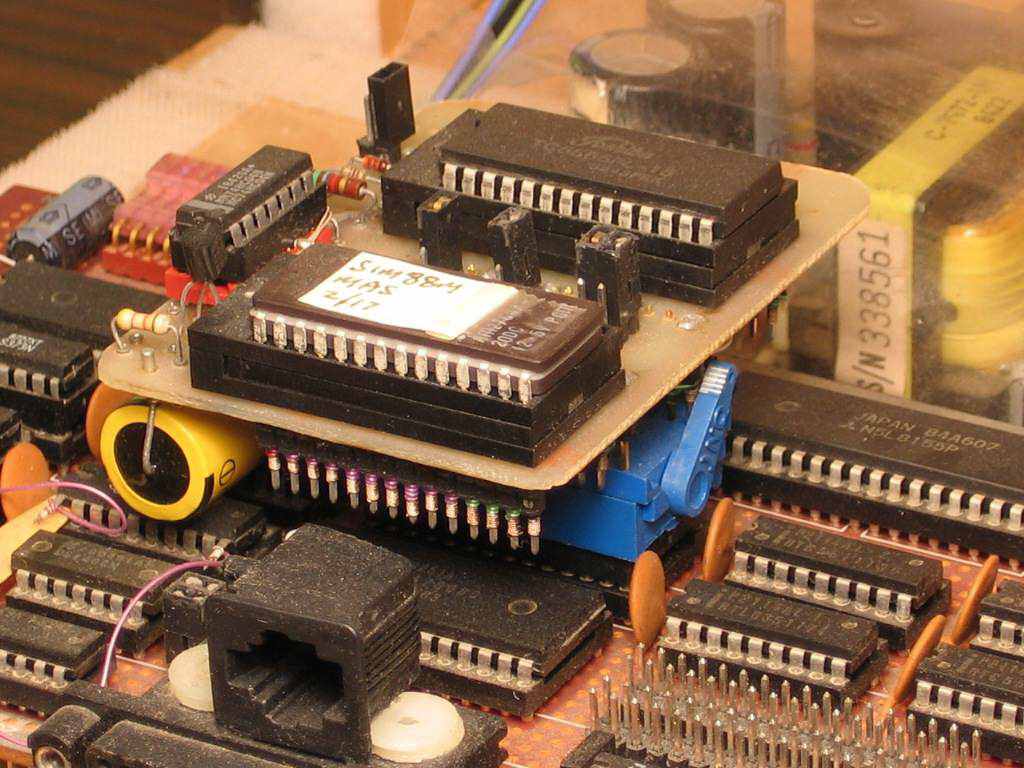
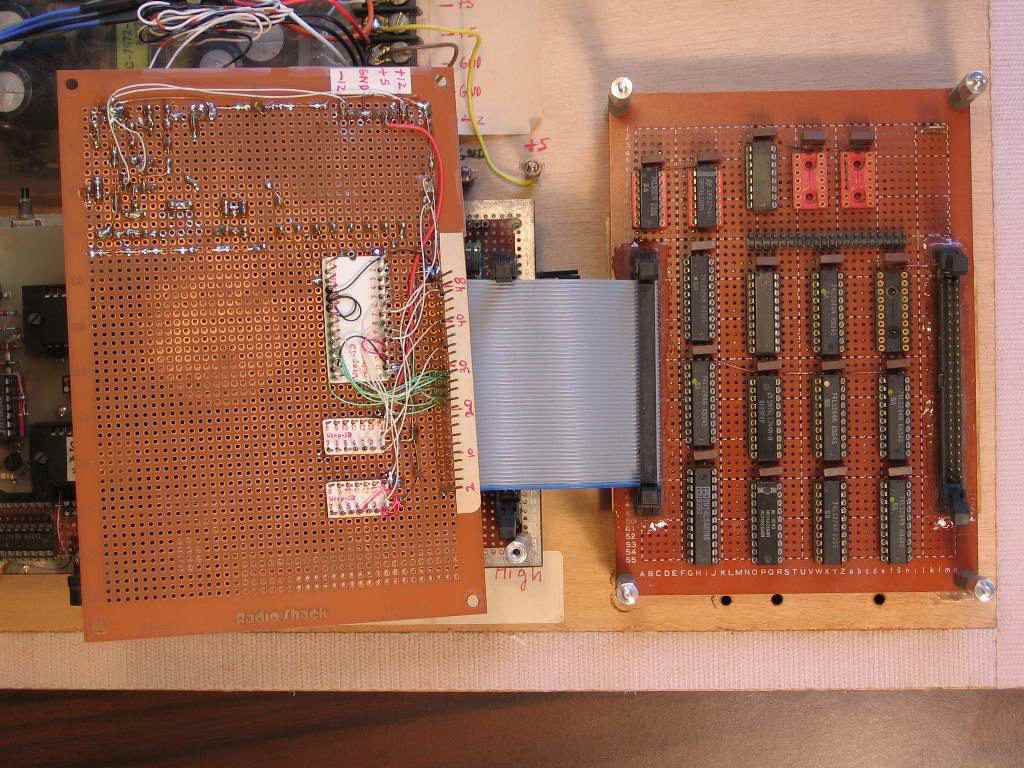
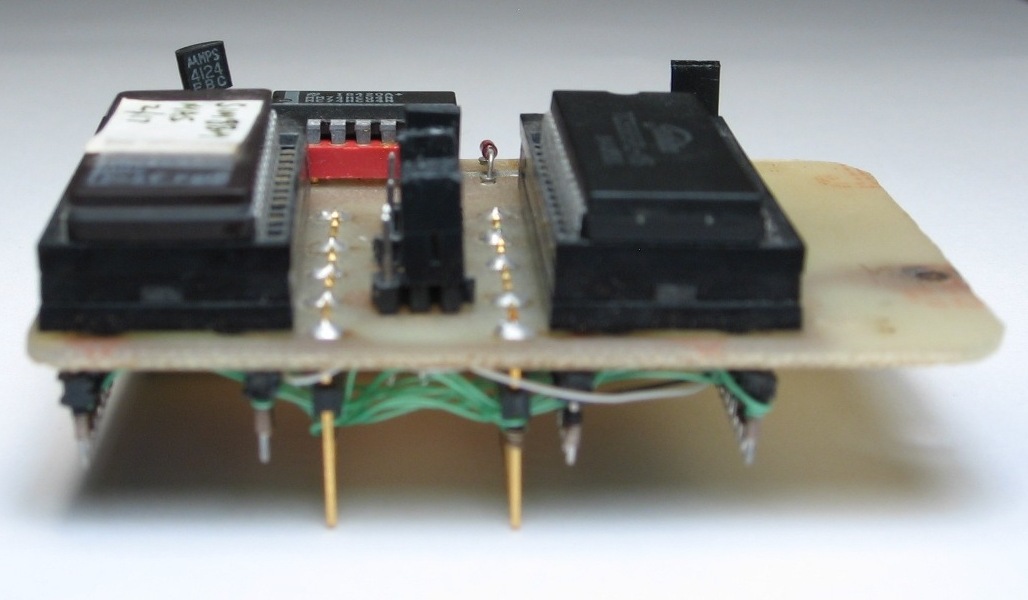
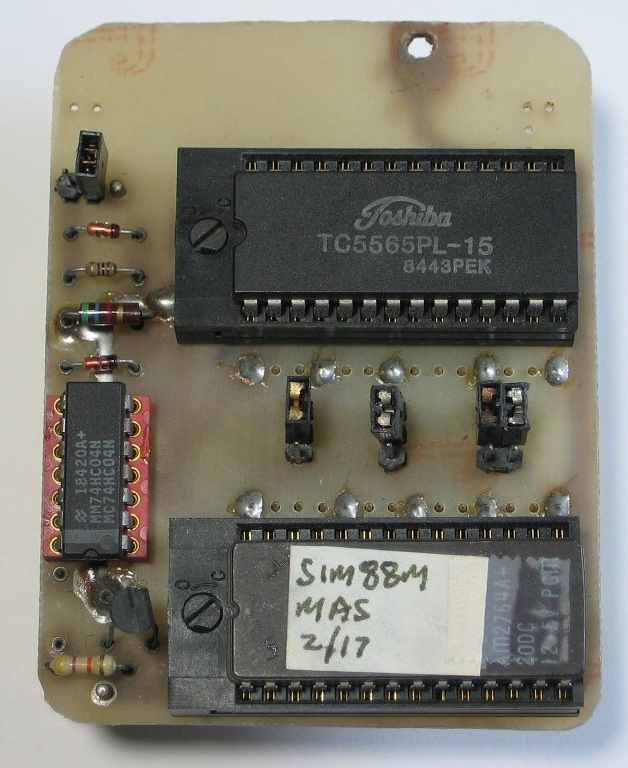
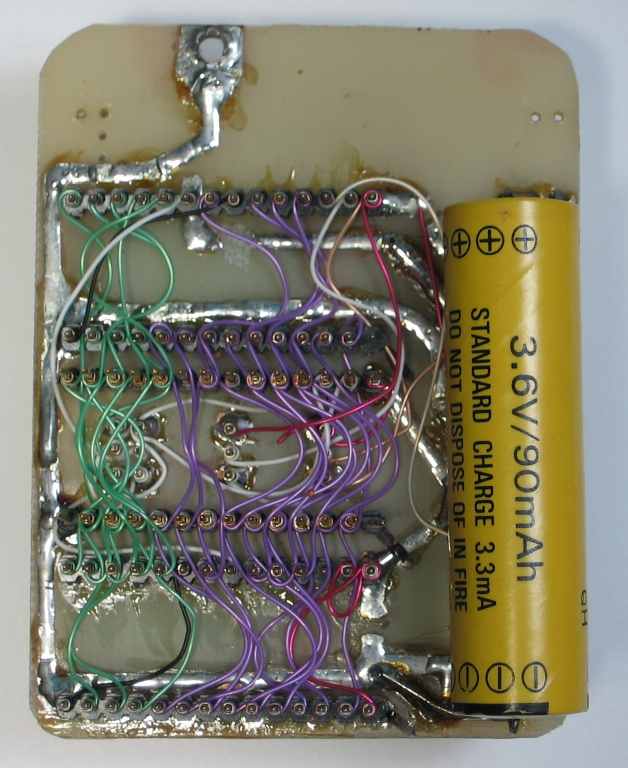
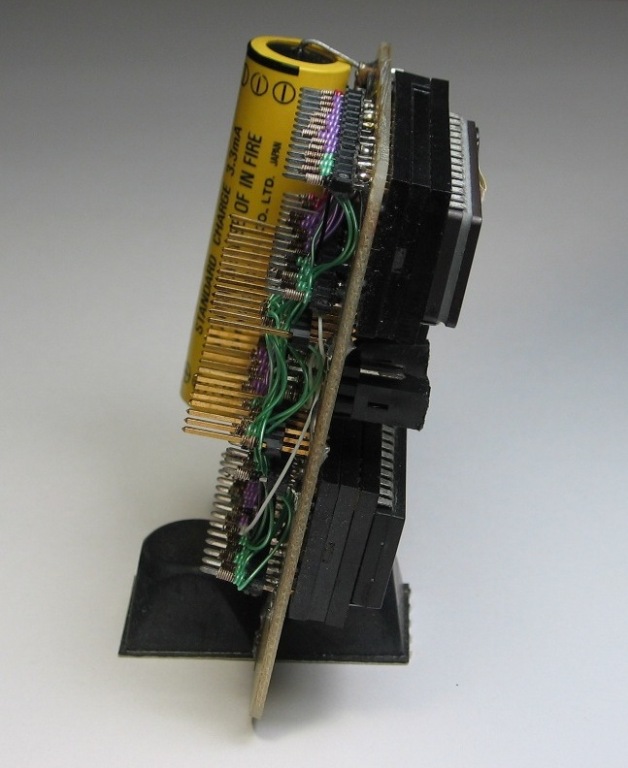
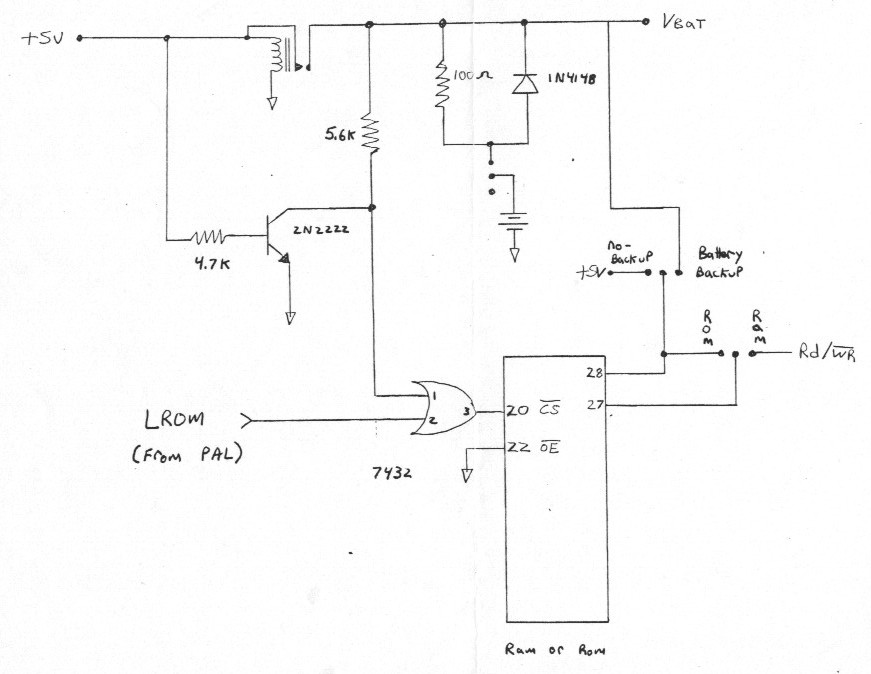
This was a project I had to build for one of my digital electronics design classes at the Rochester Institute of Technology. It used the Intel 8088 microprocessor, and had a monitor written in assembly language. The main board was pre-designed for us, we just had to build it. I built it according to that design, but later made a little adaption to it. I grew tired of the work that was involved in updating the software. I'd have to change the code, assemble it, burn those changes into a new EPROM, and change out the EPROM. So, I designed a little module that would plug into the socket I used for the EPROM, and would allow me to run the code from RAM or EPROM via jumper selection. I could download my code directly into RAM (I made changes to the software to allow for that), and run right from RAM. Once I saw that my code was bug free, I could burn the code into EPROM and change the EPROM on the module. I even added a battery back up circuit to the module so it would retain the program in RAM after shutting of power. I was the only one in my class that had done anything like this.
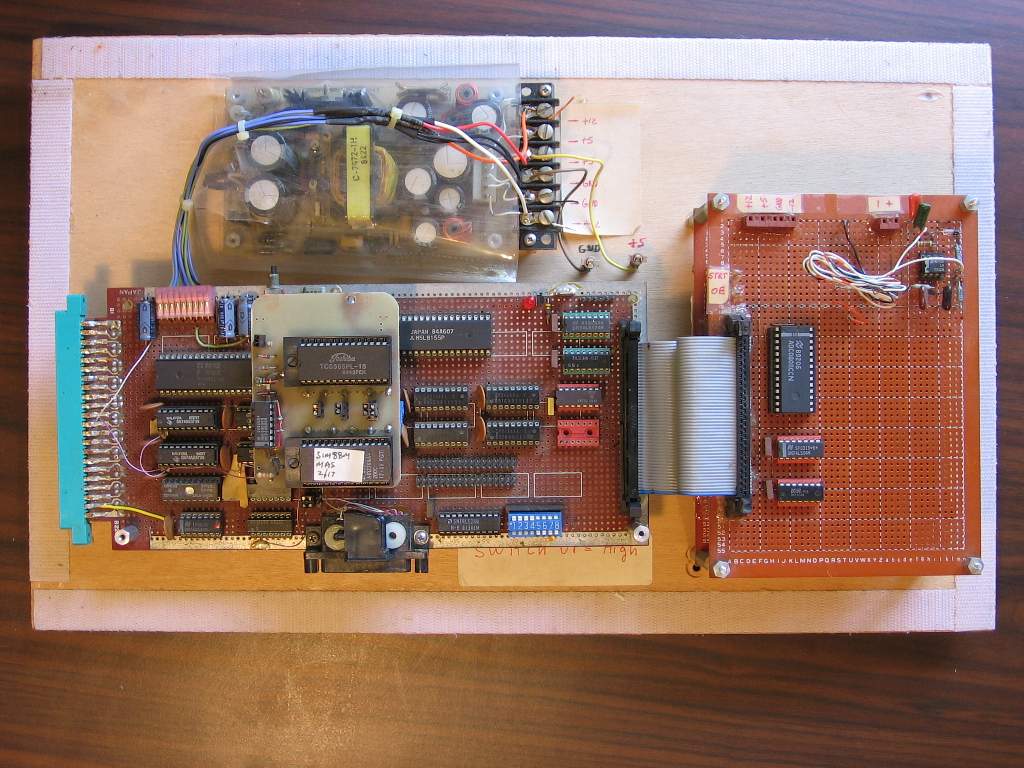
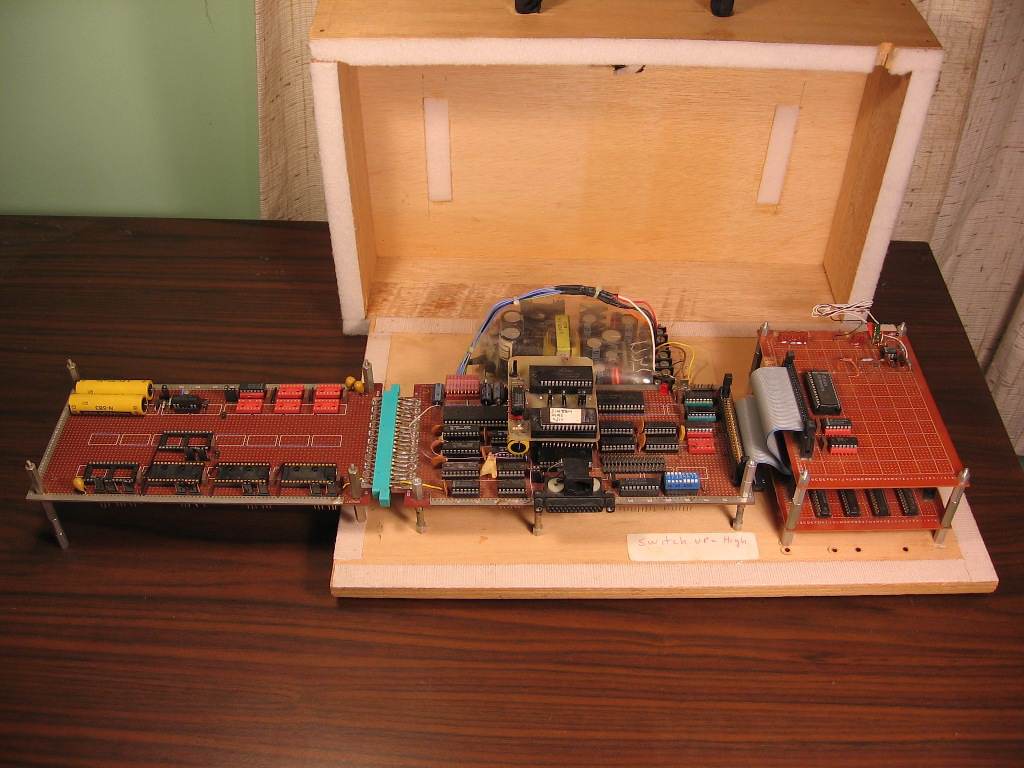
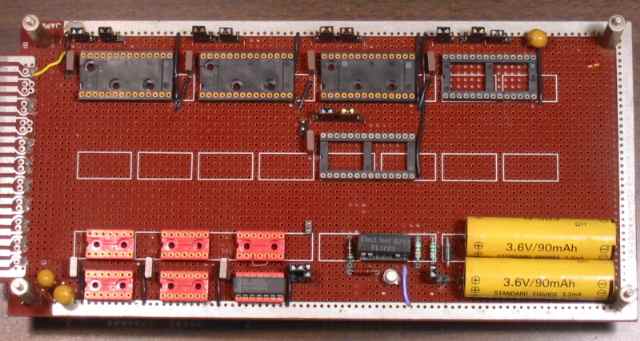
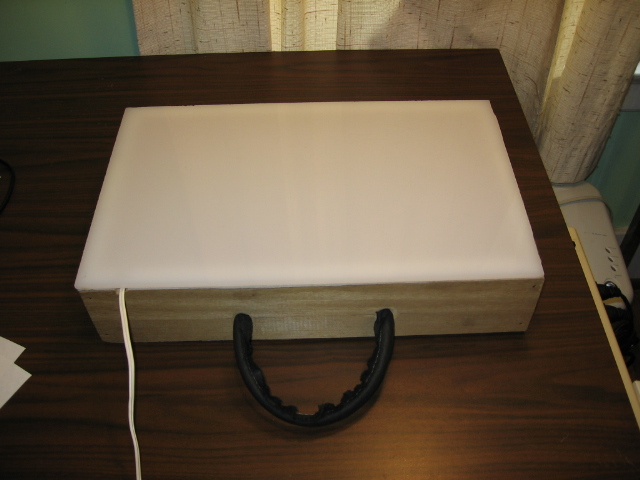
From the start of this project I was worried that if I carried it back and forth to school every day in a shoe box I'd end up crushing it at some point. So I built it into a suit case made out of plywood. The entire system was contained in a secure wooden case. Actually, at one point I built a add-on memory board (shown below stripped of its ICs) that did not fit into the case. I later made a drafting light box that would make use of the same case. A small fluorescent light would stick to those two strips of velcro in the top of the case, and a sheet of cloudy plexiglass would then go on top.
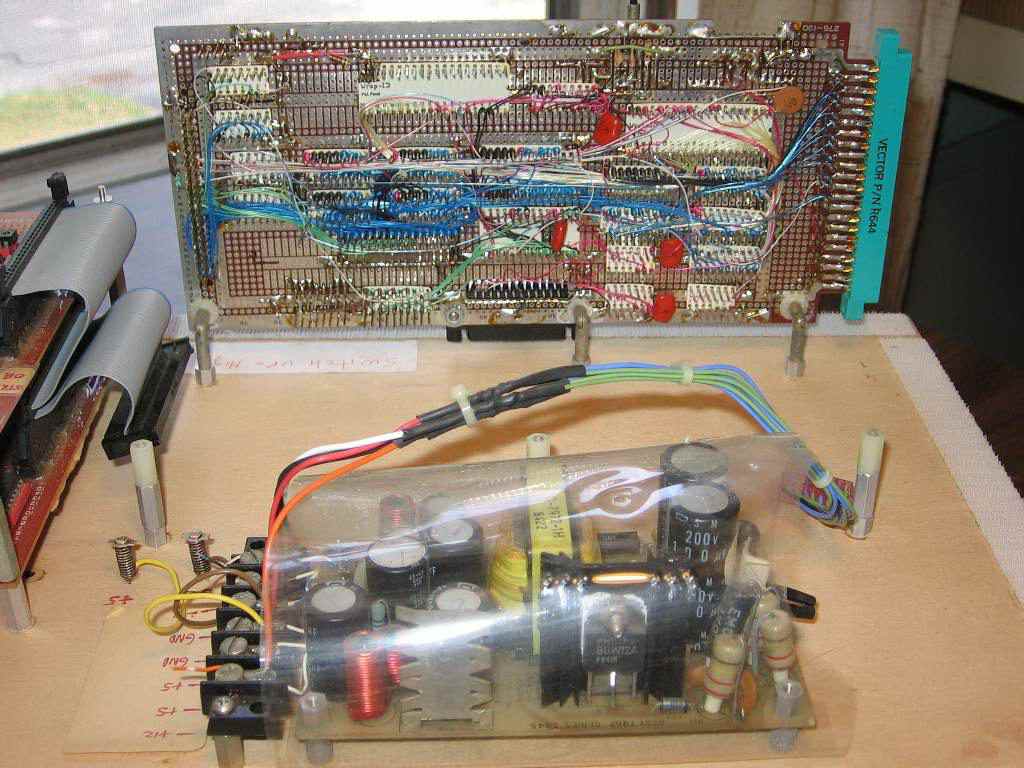
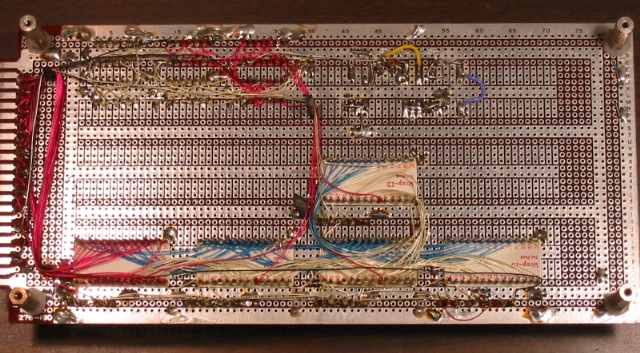
The two smaller boards to the right of the main board were for an A-to-D circuit and a DMA project. Almost everything was wire-wrapped, which I was already very familiar with doing. I made some of my own printed circuit boards, as can be seen by looking at the module. Most of the time I'd use wire wrapping for a majority of the signals, and etch the analog circuitry and power and ground lines from a copper clad board.